Proxmox Install
Download the Proxmox VE ISO Installer Image version 7.0 or later. https://www.proxmox.com/en/downloads/category/iso-images-pve
Installation
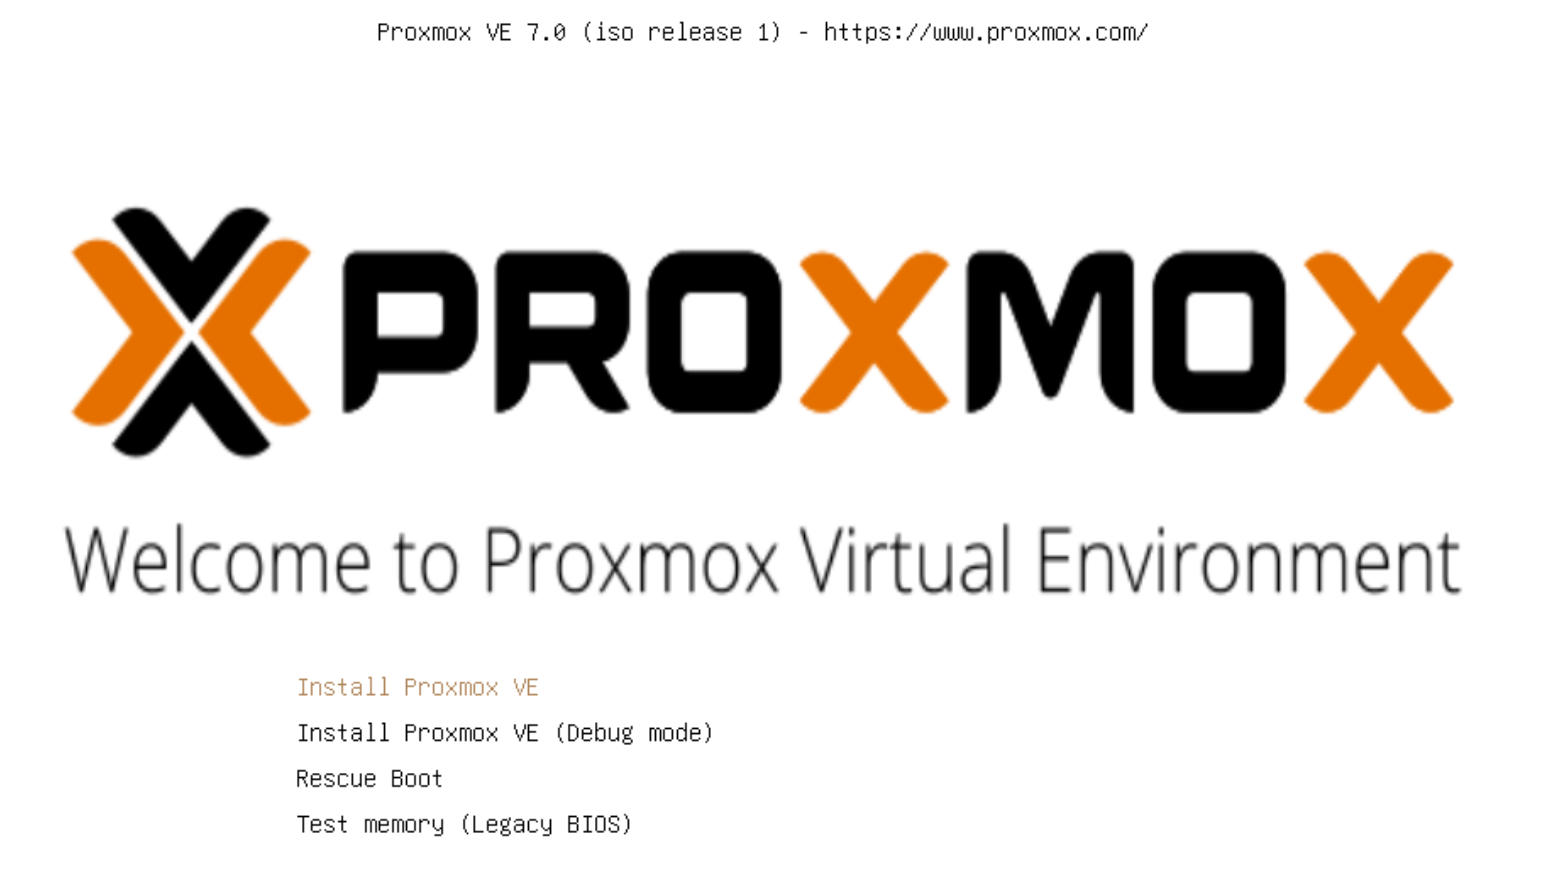
On the Proxmox boot screen, leave the selected line on Install Proxmox VE and press Enter.
Wait for the Proxmox installer to boot until you are presented with the End User Licence Agreement (EULA).
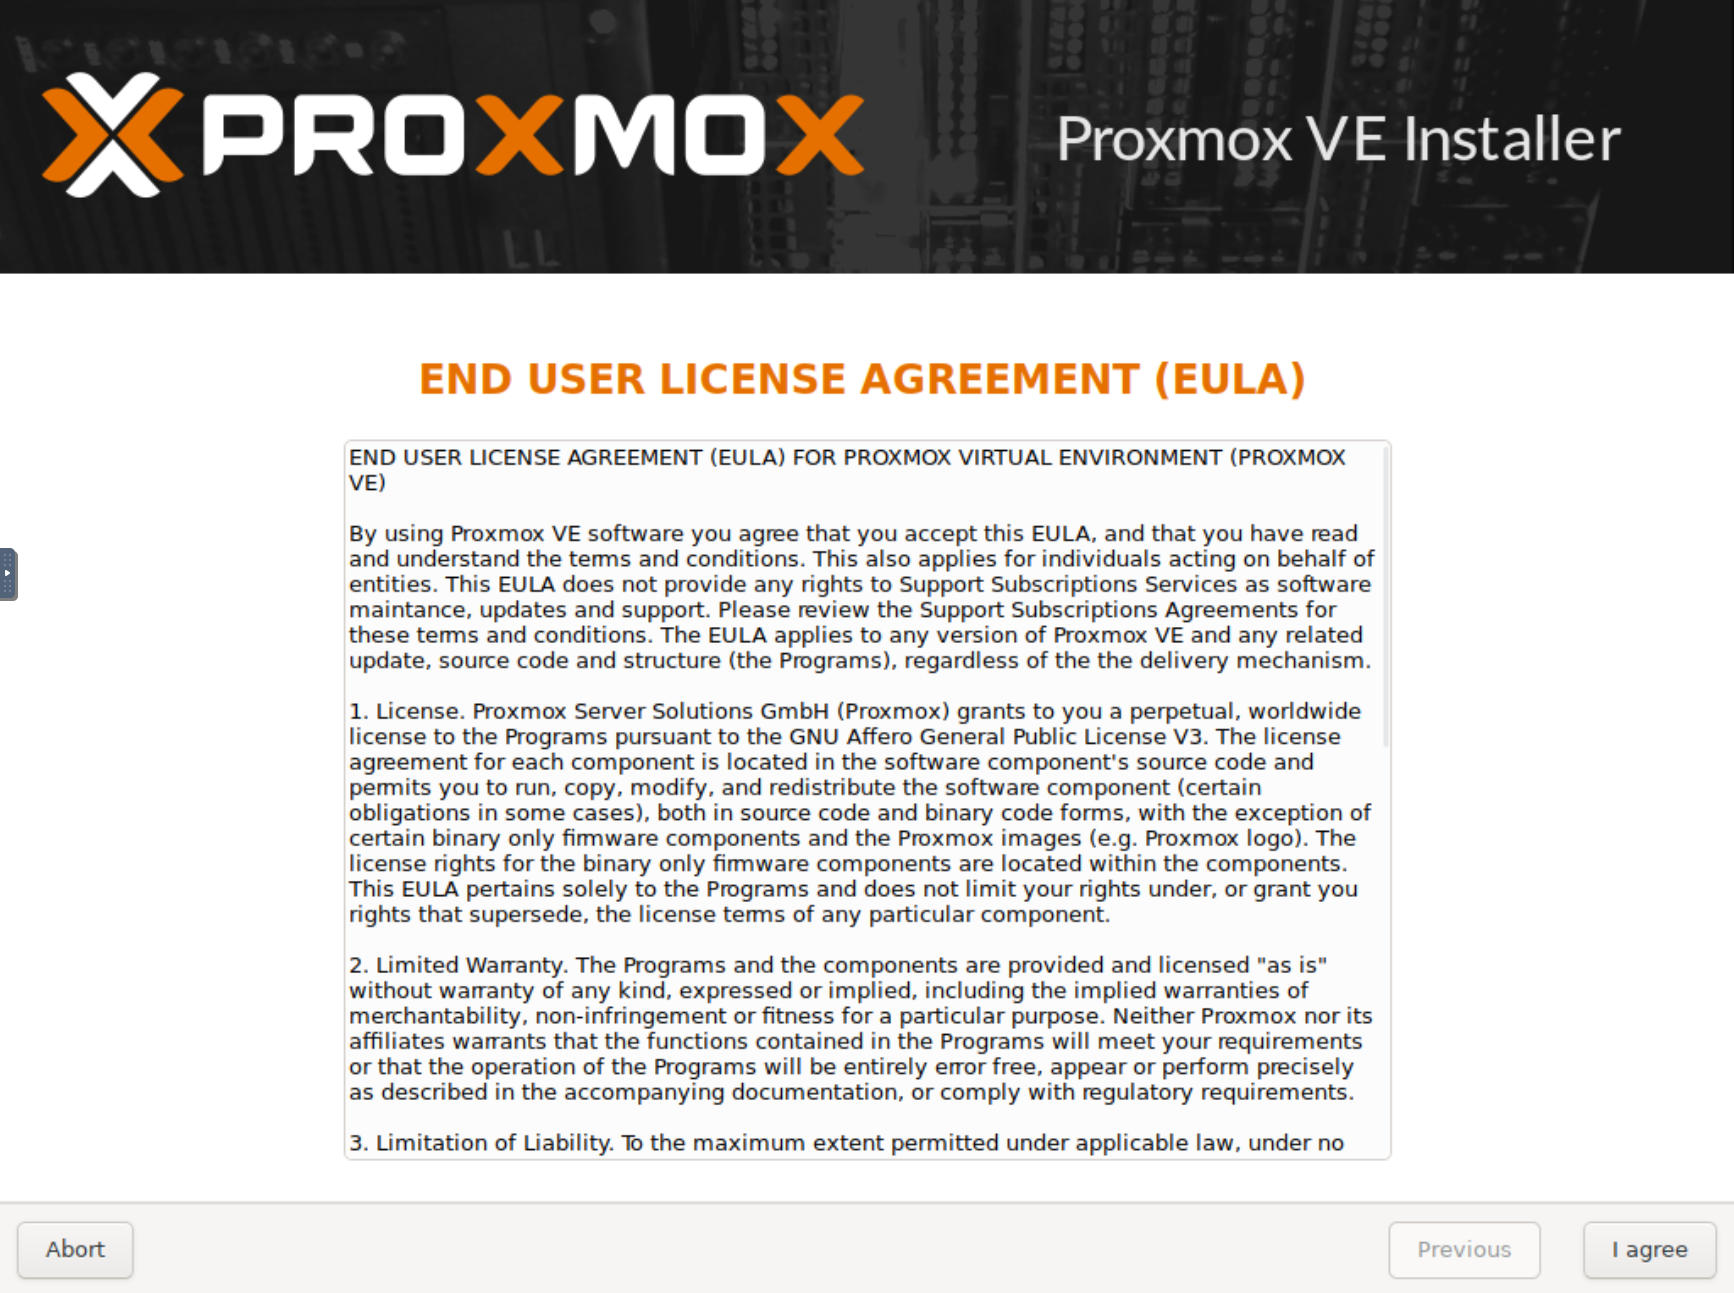
Read and agree by clicking I agree at the bottom right.
On the next screen, Proxmox Virtual Environment (PVE), make sure that the correct target disk for the Proxmox OS is selected. It will be the 32 GiB drive you configured as the primary vDisk.
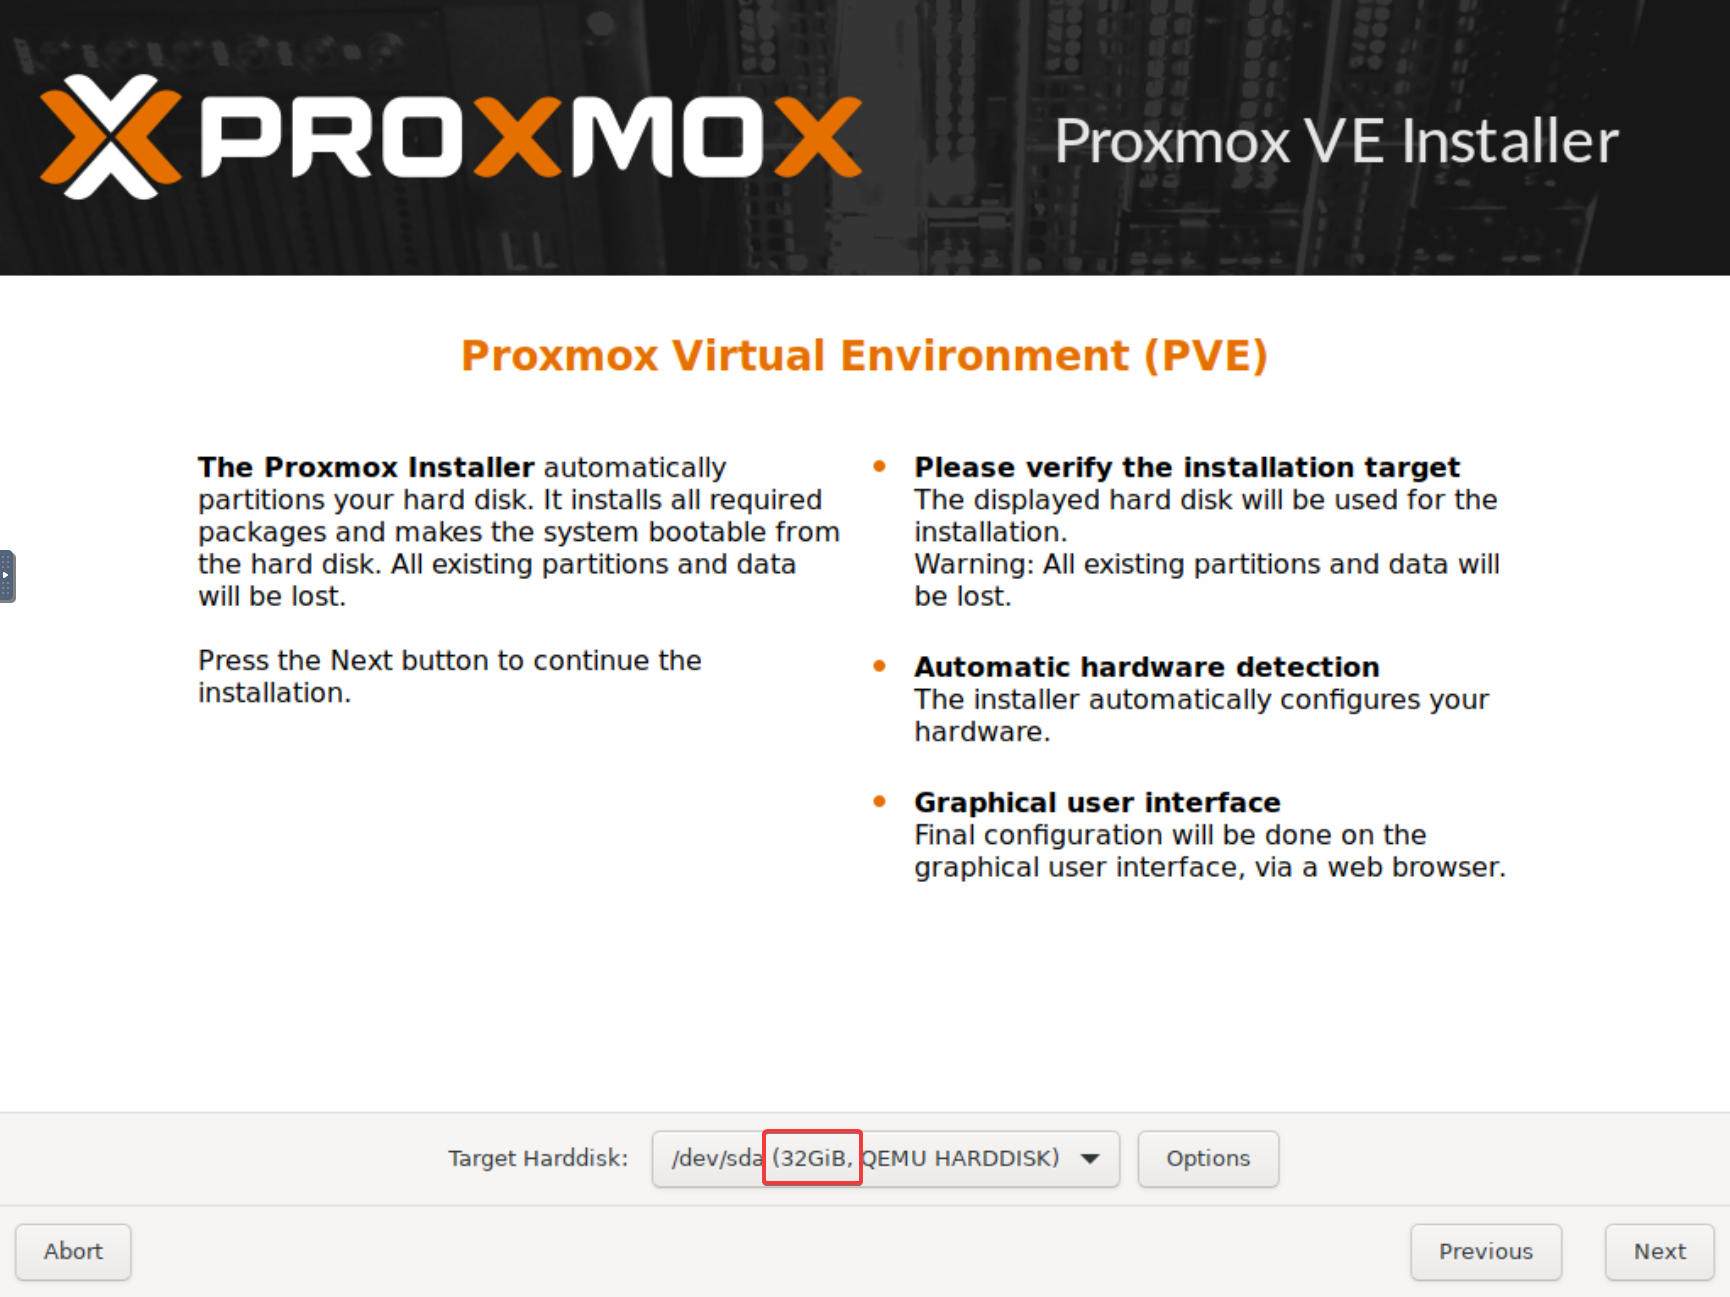
Click Next.
Adjust location and time zone if needed. Click Next.
Enter a password and valid email address. Click Next.
On the next screen we configure the network. We will see for the Management Interface the one virtual network card we have given the Proxmox VM.
Choose a Hostname or leave it as is if you are not sure.
For the IP Address, choose a fixed address that is not in use in your local area network (LAN).
The Gateway and DNS Server should be auto-detected. If not, change them to fit your LAN. Click Next.
Summary. Check that everything on the Summary page is correct. If not, you can go back to any previous screen by clicking Previous. If all checks out OK, click Install.
Watch Proxmox install everything needed. The installer will extract and copy the necessary files and automatically reboot once it is done. Depending on the speed of the drives you put your vDisk on, this process can take a couple of minutes.
Once done, you will see the pve login:
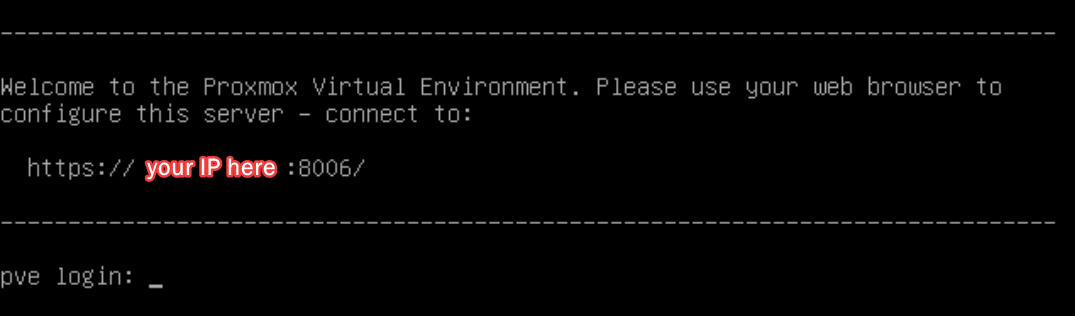
Above the login, you should see the login address in the format of https://x.x.x.x:8006/
Go back to your web browser and open a new window/tab. Enter the URL exactly as shown into the URL bar of your browser and hit enter.
Your browser will (or should) warn you that the connection is not private (we use an HTTPS connection without a valid certificate). Choose to proceed, as we know it is the server you just installed.
You will be presented with the Proxmox VE Login prompt.
User name: root Password: the password you gave your system during the install
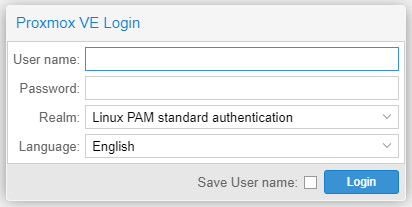
Click on login.
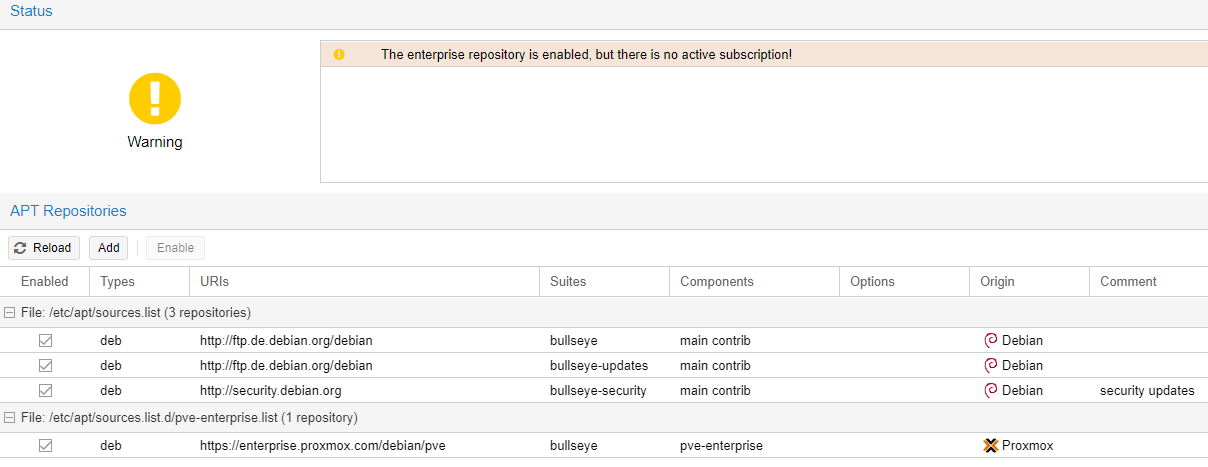
Subscription Warnings
You will get a warning about not having a valid subscription. Don't worry. Proxmox is open source and free. However, they would like you to purchase a subscription. With a subscription, you will get access to the paid repository for updates. Further down we will change to the free repository. Expect more reminders like that. Unless you want to go into production with a Proxmox server and choose to purchase a subscription, stick to the free edition.
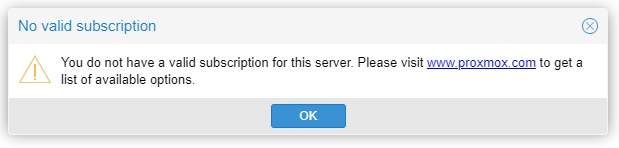
Click OK.
Proxmox Updates
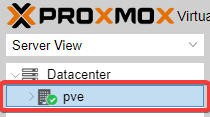
Proxmox starts in the Datacenter view. It differentiates between your "datacenter" and individual servers in the datacenter. First step, select the server you just installed:
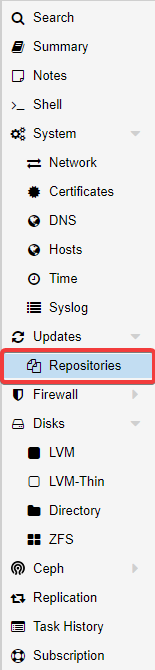
In the menu tree, select Repositories and Updates:
It might take a few seconds to update the view. You should see the following screen:
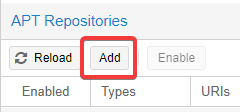
Click on Add and click OK on the "No valid subscription" warning.
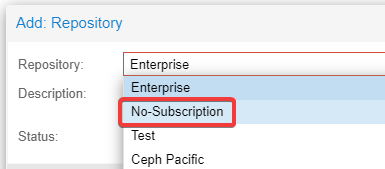
In the Repository dropdown, choose No-Subscription and click Add.
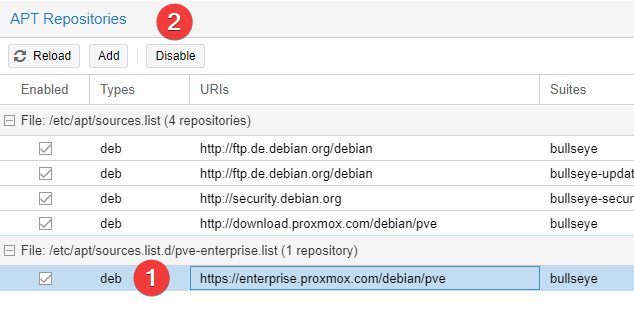
Now select the enterprise repository (last line) by clicking on it and clicking Disable.
In the left menu tree, select Updates.
Click on Refresh and (yet again) OK for the "No valid subscription" warning. Proxmox will now check the software archives against the repositories. Wait until you see "TASK OK". Close the box by clicking the X top right.
Click on the >_ Upgrade button. A terminal window will open. It will show you the necessary updates and the space they need. Choose Y to confirm (the capital choice is the default choice and pressing Enter will choose the default).
There might be a question about the encoding of the console. UTF‑8 is the default; press the Tab key to get to OK and press Enter. Same for the keyboard layout.
Wait till all the downloads and upgrades are finished.
Updates/Upgrades
It is always a good idea to check for updates/upgrades by going into the Updates section and clicking Refresh. If there are new packages, you can click the Upgrade button to pull and install them.
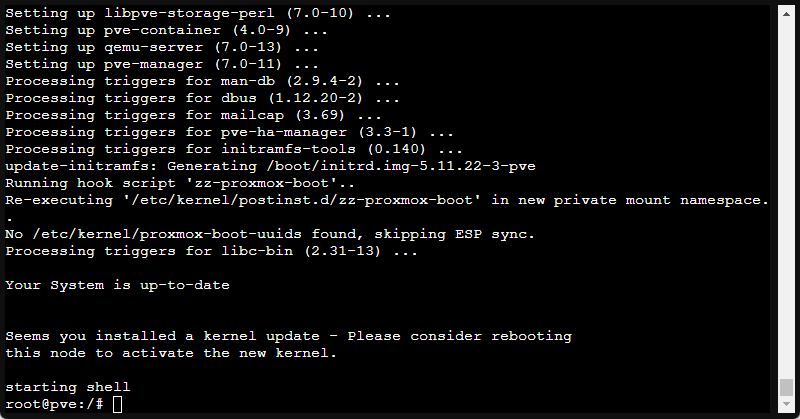
Once the process is finished, you should see "Your system is up to date". If the update/upgrade included a kernel update it will say "Seems you installed a kernel update — Please consider rebooting this node to activate the new kernel." We should do this in a second.
In the terminal window, type exit and press Enter. Close the window.
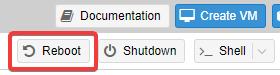
With the server still selected in the Server view, click on Reboot (top right) and confirm by clicking Yes, to reboot the server.
There will be no visible cue after that, but you can follow the progress of the reboot in the VNC window of the Proxmox VM. Once you see the login prompt there, you can go back to the web admin interface (no login required).
We are now up to date and have set up the Proxmox server to pull all updates from public sources.